Share this
by Christian Ofori-Boateng on Feb 11, 2020 2:53:00 PM
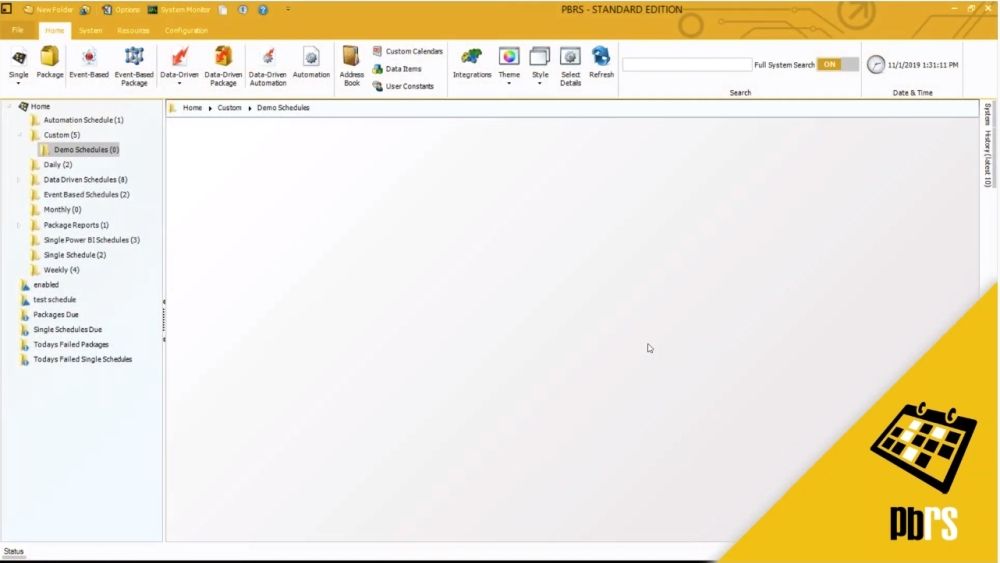
PBRS is a Power BI reporting solution that allows you to send and schedule unlimited reports to unlimited users with only ONE Power BI license. Want to learn more about PBRS? Get a free trial.
This demo will show you how to export a power BI report to MS Excel data only output format. For this example, the report will be set to run every week on a Friday at 5:00 PM.

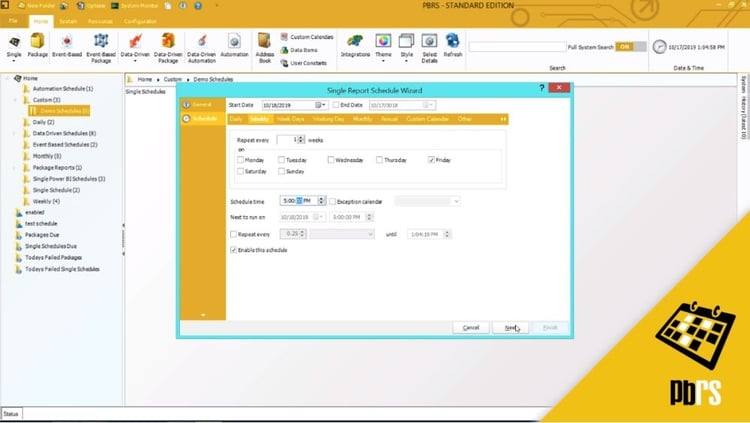
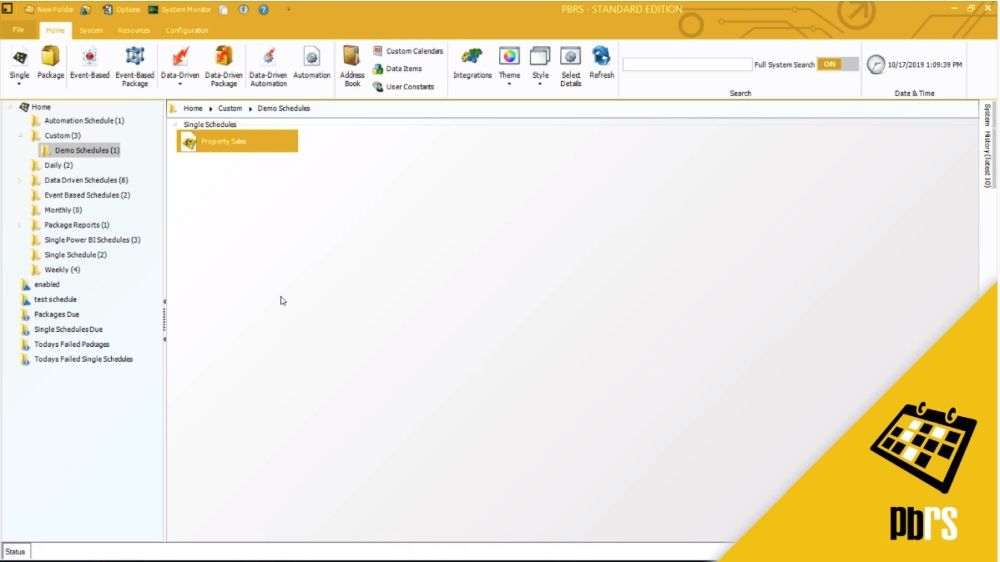
To begin we will select the single schedule wizard for power BI. Select the power BI account that you will use and choose the report (for this we will choose a sales report) and click next to save that information. This brings you to the scheduling tab. The start date, as you can see, defaults to the date that the schedule's set up, and the end date is set some time for in the future. You can accept this default, or if you want there to be no end date, simply uncheck the box. We will set this report to run every week on a Friday, so we will uncheck everything else. The scheduling time is going to be at 5:00 PM, so we will overwrite what's currently there. For more information on scheduling, please view the scheduling demo.
For now you will simply click next to save what has been entered. This brings you to the settings tab. If you want to change anything about these settings, you can simply click and change the settings. For this we will accept the default, so we won't make any changes here, simply just click next.
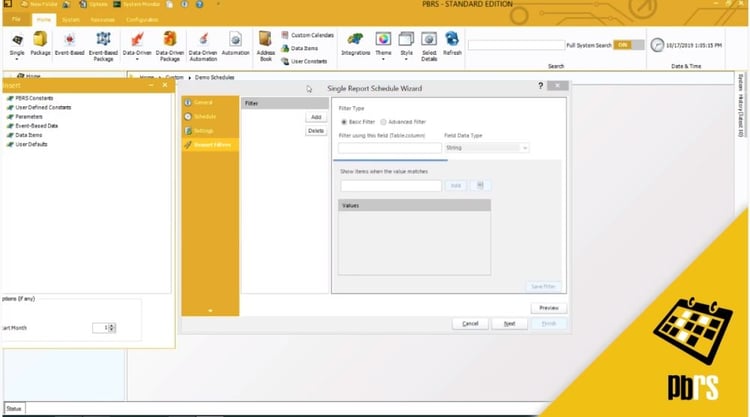
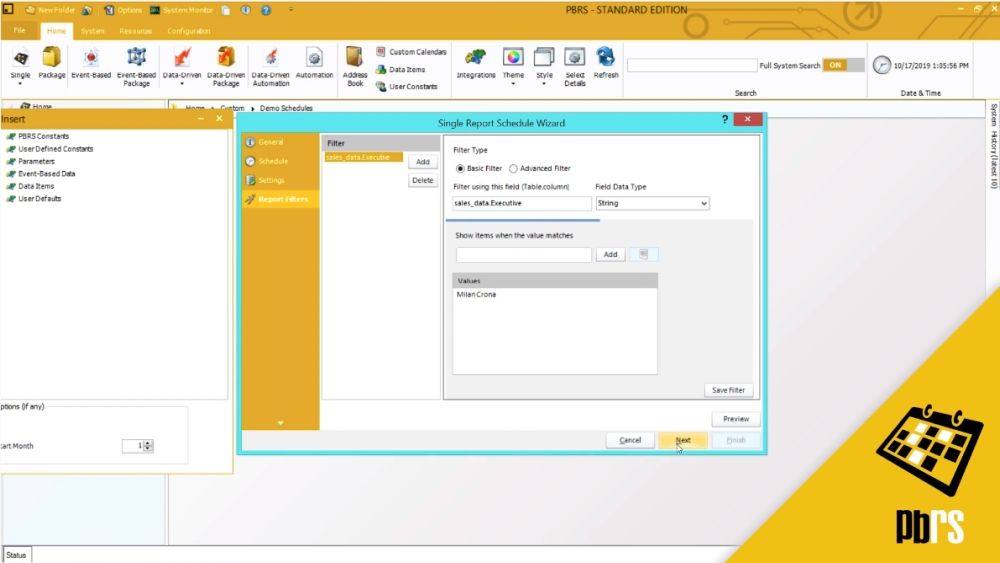
Next up is the report filters tab and here we will add a report filter of a specific salesperson. To add a report filter you click add, and then choose the option to filter it using the table and the column, and we will add the sales executive that we want to run the report for and click add. For more information on adding multiple filters, please view the report filters demo.
Clicking next will save what you have entered here. This brings you to the refresh data sets tab. If you want to refresh any of the datasets before producing the report, you would set that information up here. For now we will go ahead and click next, and this brings us to destinations where we will select a disc destination. The format that we're going to use is MS Excel data only.
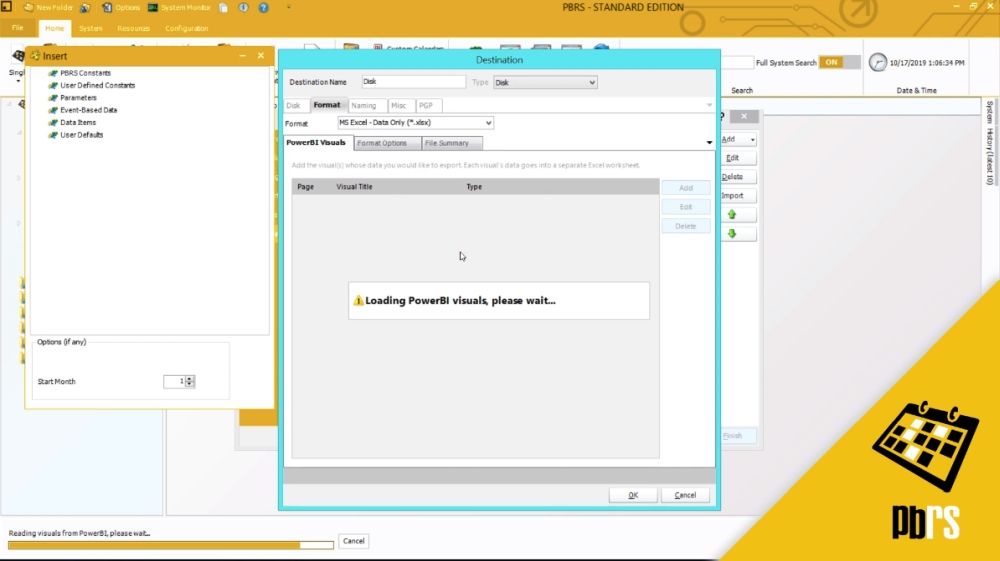
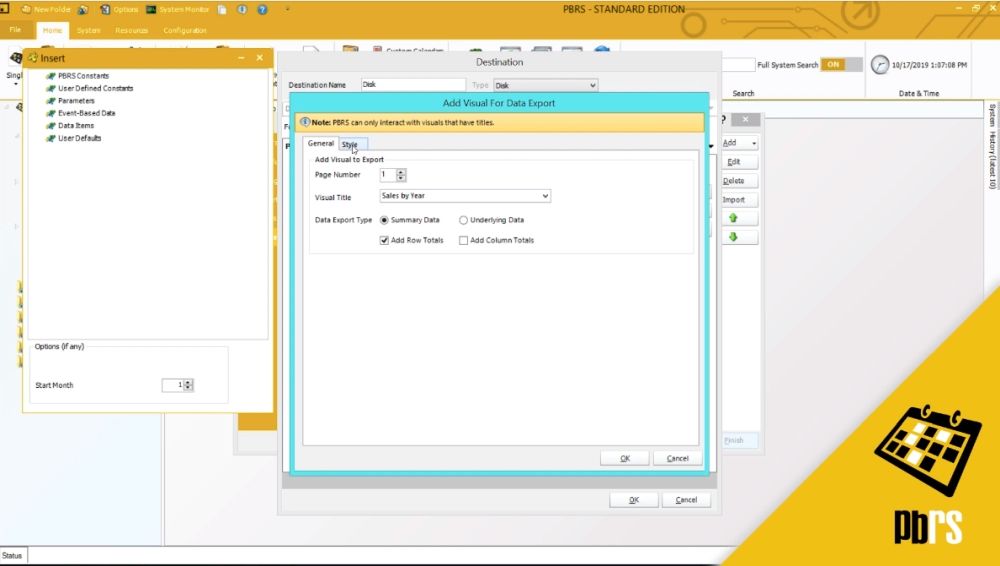
Just wait a few moments while the power BI visuals load. Once that is complete you can choose to add, and for this we will do the sales by year for this particular sales executive and we'll add a row total. You can choose to export summary data or underlying data, for now we will just go for the summary.
Under the style tab you can change the header, so in this example we will make the header green and my column totals will be a lighter green. Row totals, again, a lighter green. Odd rows are currently set to white, we'll go ahead and make them gray, and then the even rows are a shade of blue.

Format options. If you want to provide the worksheet with a name, you can enter that here. If you accept the default in the report, then leave it blank. If you want to password protect the workbook, you would do that here and enter a password. Once you have made all the changes you want, you will simply click okay to save it.
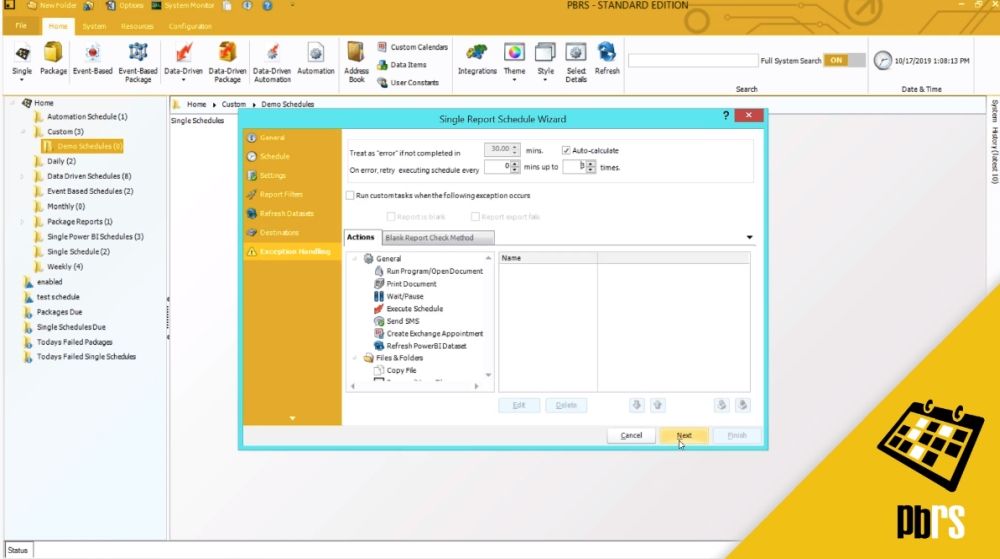
Click next. This is the exception handling tab. For more information on exception handling, please view the exception handling demo. Custom tasks. Custom tasks can be applied to any schedule or ran on their own as part of an automation schedule. For more information on custom tasks, please view the custom tasks demo.
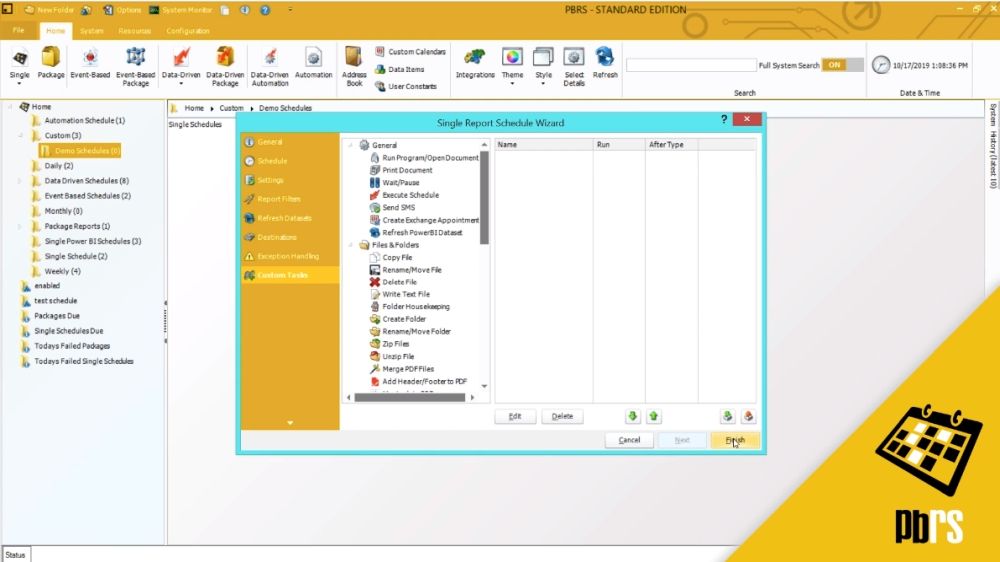
Next, we will click finish to save the schedule. So that you can see the report output, we will manually execute this schedule. To do that, you click on the schedule, right click and select execute. We're using the process watcher so that you can watch the progress of the schedule. The schedule will take a few moments to run.
Now let's go and look at that output. Going to access it, we are asked for a password which we set up earlier. Here you can see the formatting, so it's changed the headers to green, the columns to light green, and then we have the gray and the darker blue that we chose.
Want to try for yourself? Start your FREE trial below.
No Comments Yet
Let us know what you think